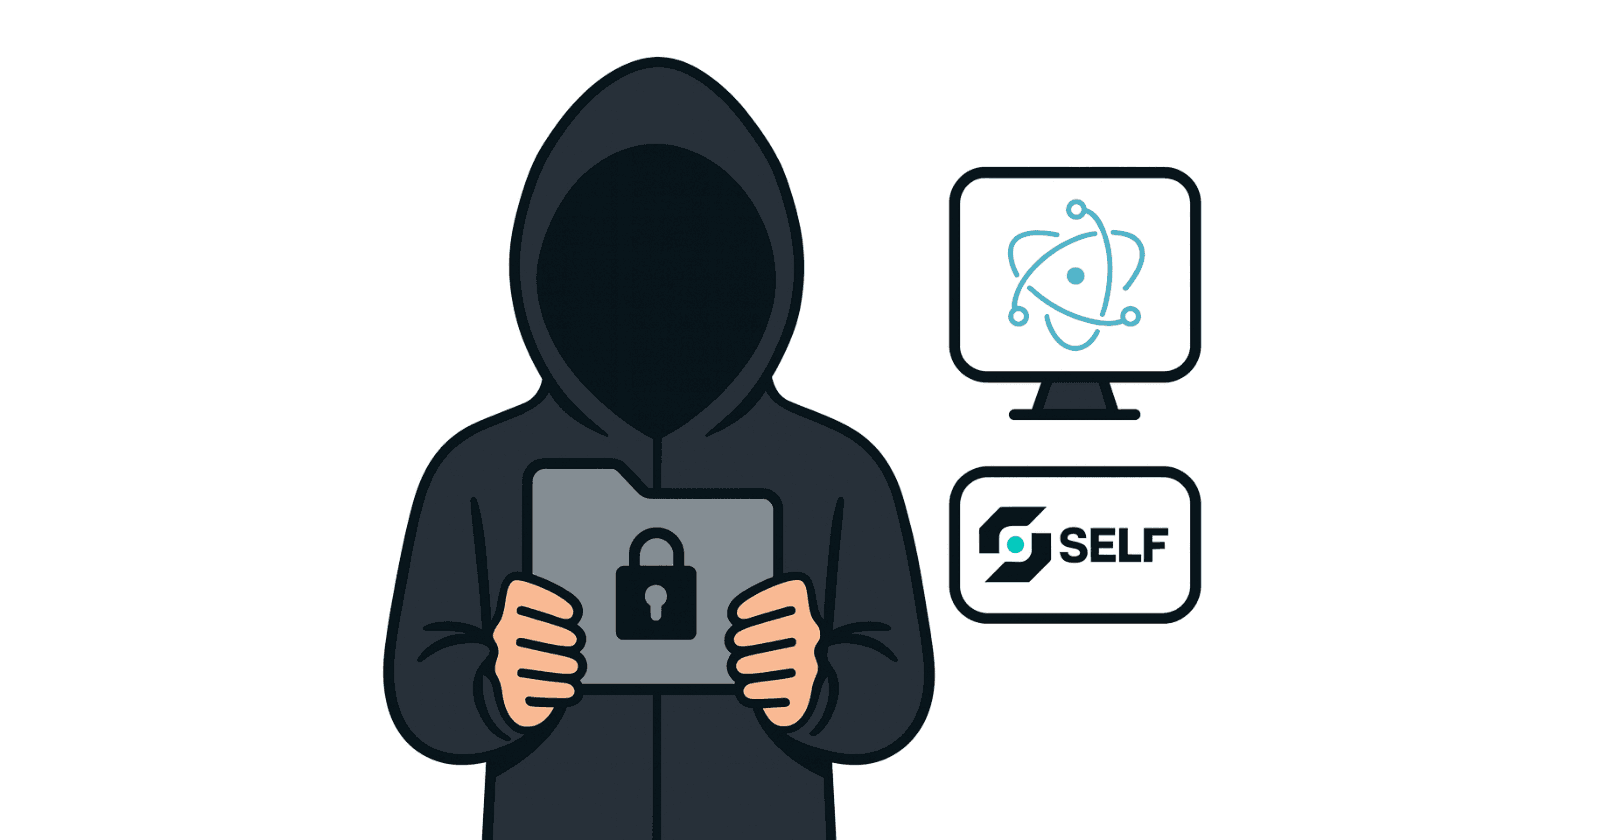
Self-Secured Folders with Electron
A code-dependent life form.
You've got sensitive files on your laptop. Medical records, financial documents, private photos, confidential work files. Sure, you could password-protect them, encrypt them with traditional methods, or hide them in obscure folders. But here's the thing, these approaches all have the same fundamental flaw: they can't verify who you actually are.
And it's not just personal computers. Think about enterprise environments, NAS (Network-Attached Storage) devices, Active Directory file shares, departmental folders on shared drives. Multiple people have access, but how do you ensure only the right people with the right verified attributes can decrypt specific folders? You can't just rely on usernames and passwords when compliance requires proof of age, sanctions screening, or other identity attributes.
That's when it hit me. What if I could gate access to files not just with a password, but with actual identity verification? What if I could set rules like "only decrypt this if the user is over 18" or "only if they're not on any sanctions lists"? And most importantly, what if I could do all this without compromising privacy?
Want to follow along? All the code from this article is available on GitHub. Feel free to clone, experiment, and build upon it!
What Are We Building Here?

I created a desktop application that lets you:
Encrypt entire folders with military-grade AES-256-GCM encryption
Set custom access rules per folder (minimum age, gender, OFAC sanctions clearance)
Verify your identity using the Self protocol before decrypting anything
Keep everything local and private on your machine
The folders literally disappear from your file system (they get hidden and encrypted), and the only way to access them is through the app after proving you meet the specific requirements you set.
Why Self Protocol?

Traditional identity verification is broken. When you verify your age on a website, you typically upload your entire ID or passport. They see your name, address, date of birth, ID number, everything. You're giving away the farm just to prove you're 21.
Self flips this on its head with zero-knowledge proofs. Here's how it works:
You scan your passport with your phone's NFC reader
Self generates cryptographic proofs about you
When an app needs verification, you share only what's required
The app gets a mathematical proof that you're over 18 (for example) without ever seeing your actual birthdate
It's like proving you can unlock a door without showing the key itself. Mind-blowing stuff.

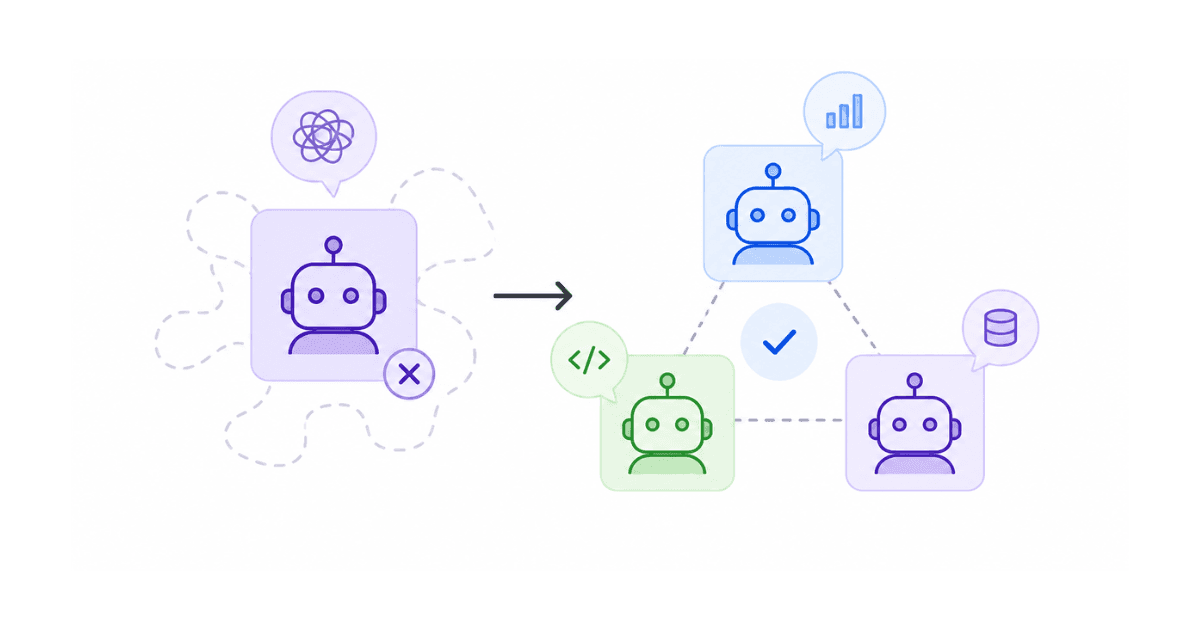
The Architecture
This application is split into three distinct parts that work together seamlessly:
The Electron Main Process
This is where the magic happens. The Electron main process handles all the heavy lifting:
File system operations
Encryption/decryption with AES-256-GCM
Storing folder configurations
Managing encryption keys

The Next.js Frontend
Built with Next.js and React, this provides a clean, modern interface for:
Browsing and managing encrypted folders
Configuring folder access rules
Displaying Self QR codes for verification
Showing verification status in real-time
The Express Backend
A lightweight Express server that:
Integrates with Self protocol's backend verifier
Manages per-folder verification configurations
Validates zero-knowledge proofs
Checks age, gender, and OFAC requirements
Checkout: kartikmehta8/self-secure-folders
How Encryption Actually Works
Let's peek under the hood. When you add a folder to encrypt, here's what happens:
Step 1: Generate a Random Encryption Key
const id = crypto.randomUUID();
const key = crypto.randomBytes(32); // 256-bit key for AES.
const keyBase64 = key.toString("base64");
Each folder gets its own unique 256-bit encryption key. This key never leaves your machine and is stored securely in Electron's user data directory.
Step 2: Recursively Encrypt Every File
The app walks through your entire folder structure and encrypts each file individually:
async function encryptFile(sourcePath, targetPath, key) {
  const iv = crypto.randomBytes(12); // 12-byte initialization vector.
  const cipher = crypto.createCipheriv("aes-256-gcm", key, iv);

  const data = await fsPromises.readFile(sourcePath);
  const encrypted = Buffer.concat([cipher.update(data), cipher.final()]);
  const authTag = cipher.getAuthTag(); // For integrity verification.

  // Store: IV + Auth Tag + Encrypted Data.
  const payload = Buffer.concat([iv, authTag, encrypted]);
  await fsPromises.writeFile(targetPath, payload);
}
Why AES-256-GCM? Two reasons:
AES-256 is the gold standard for symmetric encryption, the same encryption used by governments and militaries worldwide
GCM (Galois/Counter Mode) provides authenticated encryption, meaning it prevents tampering. If someone modifies even a single bit of your encrypted file, decryption will fail
Step 3: Hide the Original Folder
On macOS and Linux, the app automatically renames your source folder with a leading dot (like .my-secret-folder), making it hidden from normal view:
if (process.platform !== "win32") {
  const parentDir = path.dirname(input.sourcePath);
  const baseName = path.basename(input.sourcePath);

  if (!baseName.startsWith(".")) {
    const hiddenPath = path.join(parentDir, `.${baseName}`);
    await fsPromises.rename(input.sourcePath, hiddenPath);
  }
}
Your encrypted version lives in Electron's user data directory, completely separate from your normal file system.
The Self Integration
This is where things get really interesting. When you click "Open" on an encrypted folder, you're not just entering a password, you're proving your identity.
Setting Up Verification Rules
First, you configure what requirements must be met to access a specific folder:
const conditions: FolderConditions = {
  minAge: 18,              // Must be at least 18 years old.
  gender: "female",        // Optional: specific gender requirement.
  requireOfacClear: true   // Must not be on OFAC sanctions list.
};
These rules get sent to the Express backend and stored in memory:
app.post("/api/config", async (req, res) => {
  const { configId, minimumAge, excludedCountries, ofac } = req.body;

  const config = {
    minimumAge: minimumAge || 18,
    excludedCountries: excludedCountries || [],
    ofac: Boolean(ofac),
  };

  await configStore.setConfig(configId, config);
});
Generating the QR Code
When you attempt to open a folder, the app generates a Self verification session:
const app = new SelfAppBuilder({
  version: 2,
  appName: "Self Secure Folders",
  scope: process.env.NEXT_PUBLIC_SELF_SCOPE,
  endpoint: process.env.NEXT_PUBLIC_SELF_ENDPOINT,
  userId: ethers.ZeroAddress,
  endpointType: "staging_https",
  userDefinedData: configId, // Links verification to specific folder.
  disclosures: {
    minimumAge: folder.conditions.minAge,
    ofac: folder.conditions.requireOfacClear,
    nationality: true,
    gender: true,
  },
}).build();

setUniversalLink(getUniversalLink(app));
This creates a QR code that encodes all the verification requirements. When you scan it with the Self mobile app, it knows exactly what to prove.

The Verification Flow
Here's what happens when you scan that QR code:

Backend Verification
The Express server receives the proof and validates it:
app.post("/api/verify", async (req, res) => {
  const { attestationId, proof, publicSignals, userContextData } = req.body;

  // Verify the zero-knowledge proof.
  const result = await selfBackendVerifier.verify(
    attestationId,
    proof,
    publicSignals,
    userContextData
  );

  const { isValid, isMinimumAgeValid, isOfacValid } = result.isValidDetails;

  // Check all requirements.
  if (!isValid || !isMinimumAgeValid || isOfacValid) {
    return res.json({
      status: "error",
      result: false,
      reason: "Verification failed"
    });
  }

  return res.json({
    status: "success",
    result: true,
    credentialSubject: result.discloseOutput
  });
});
The backend sees that you're over 18 (or whatever the requirement is), but it never sees your actual birthdate. It sees that you're not on OFAC sanctions lists, but it doesn't need your full identity document.
Frontend Requirement Checking
Once verification succeeds, the frontend does a final check against the folder's specific requirements:
const handleSuccessfulVerification = async () => {
  const response = await fetch(debugEndpoint);
  const data = await response.json();
  const result = data.verificationResult;

  // Check age requirement.
  if (folder.conditions.minAge && !result.isValidDetails.isMinimumAgeValid) {
    setStatus("Minimum age requirement not satisfied");
    return;
  }

  // Check gender requirement (if specified).
  if (folder.conditions.gender) {
    const genderFromProof = result.discloseOutput.gender.toLowerCase();
    const required = folder.conditions.gender.toLowerCase();

    if (!matchesGender(genderFromProof, required)) {
      setStatus("Gender requirement not satisfied");
      return;
    }
  }

  // Check OFAC requirement.
  if (folder.conditions.requireOfacClear && result.isValidDetails.isOfacValid) {
    setStatus("OFAC check failed. Access denied.");
    return;
  }

  // All checks passed - decrypt the folder!
  await window.electronAPI.openFolder(folder.id);
};
The Decryption Process
Once all verification checks pass, it's time to decrypt. The app creates a temporary decrypted copy of your folder:
async function decryptFile(sourcePath, targetPath, key) {
  const payload = await fsPromises.readFile(sourcePath);

  // Extract components from stored payload.
  const iv = payload.subarray(0, 12);
  const authTag = payload.subarray(12, 28);
  const ciphertext = payload.subarray(28);

  // Decrypt.
  const decipher = crypto.createDecipheriv("aes-256-gcm", key, iv);
  decipher.setAuthTag(authTag);

  const decrypted = Buffer.concat([
    decipher.update(ciphertext),
    decipher.final()  // This will throw if the auth tag doesn't match.
  ]);

  await fsPromises.writeFile(targetPath, decrypted);
}
The decrypted folder is placed in a temporary location, and your system's file explorer automatically opens it. You can work with your files normally.
The IPC Bridge
Electron apps have a unique challenge: the frontend (renderer process) and backend (main process) run in separate contexts for security. They communicate through IPC (Inter-Process Communication).
The Preload Script
This secure bridge exposes only specific functionality to the frontend:
// electron/preload.js.
const { contextBridge, ipcRenderer } = require("electron");

contextBridge.exposeInMainWorld("electronAPI", {
  listFolders: () => ipcRenderer.invoke("folders:list"),
  selectSourceFolder: () => ipcRenderer.invoke("folders:selectSource"),
  createFolder: (input) => ipcRenderer.invoke("folders:create", input),
  updateFolder: (id, updates) =>
    ipcRenderer.invoke("folders:update", { id, updates }),
  deleteFolder: (id) => ipcRenderer.invoke("folders:delete", { id }),
  openFolder: (id) => ipcRenderer.invoke("folders:open", { id }),
});
Using It in React
In your React components, you can now call these functions naturally:
const handleCreateFolder = async () => {
  const created = await window.electronAPI.createFolder({
    label: "My Secret Files",
    sourcePath: "/Users/me/Documents/secret",
    conditions: {
      minAge: 21,
      gender: null,
      requireOfacClear: true
    }
  });

  setFolders(prev => [...prev, created]);
};
This pattern keeps your Electron app secure while maintaining a clean, React-friendly API.
Performance Considerations
Handling Large Folders
Encrypting thousands of files can take time. I implemented several optimizations:
1. File Count Limiting
const MAX_ENCRYPTED_FILES = 5000;
let encryptedFileCount = 0;

async function encryptFile(sourcePath, targetPath, key) {
  if (encryptedFileCount >= MAX_ENCRYPTED_FILES) {
    throw new Error("Folder is too large to encrypt");
  }
  encryptedFileCount += 1;
  // ... encryption logic.
}
2. Smart Directory Skipping
Common large directories that don't need encryption are automatically skipped:
if (entry.isDirectory() && (
  entry.name === "node_modules" ||
  entry.name === ".git" ||
  entry.name === ".next" ||
  entry.name === "dist" ||
  entry.name === "build"
)) {
  continue;
}
3. Async File Operations
All file operations use Node's promise-based APIs for better performance:
const fsPromises = fs.promises;

// Instead of synchronous:
// fs.readFileSync(path).

// We use:
await fsPromises.readFile(path)
Real-World Use Cases
Now that we understand how it works, let's talk about where this could actually be useful.
1. Healthcare Records Management
Imagine a medical practice that needs to ensure only adults can access certain medical files:
{
  label: "Adult Patient Records",
  conditions: {
    minAge: 18,
    gender: null,
    requireOfacClear: false
  }
}
2. Financial Compliance
A financial advisor could use this to gate access to client files, ensuring anyone accessing them isn't on sanctions lists:
{
  label: "Client Portfolio Files",
  conditions: {
    minAge: 21,
    gender: null,
    requireOfacClear: true  // Must not be on OFAC list.
  }
}
3. Age-Gated Content
Content creators could distribute files that self-enforce age restrictions:
{
  label: "Age-Restricted Content",
  conditions: {
    minAge: 21,
    gender: null,
    requireOfacClear: false
  }
}
4. Multi-User Shared Workstations
In environments where multiple people share computers, this ensures only authorized individuals can decrypt sensitive folders based on their verified identity attributes.
5. Enterprise NAS and Network Shares
This pattern extends beautifully to enterprise environments with Network-Attached Storage (NAS) devices:
{
  label: "HR Confidential Documents",
  conditions: {
    minAge: 21,
    gender: null,
    requireOfacClear: true
  }
}
Imagine a NAS device where encrypted folders are stored, but decryption only happens after Self verification. Multiple employees can have physical access to the network share, but only those who verify their identity attributes can decrypt specific folders. This works great for:
HR departments restricting access to employee records based on age verification
Finance teams ensuring OFAC compliance before accessing client data
Legal departments gating access to sensitive case files
Research labs controlling access to confidential study data
The same approach could integrate with Active Directory or LDAP systems, users authenticate with their domain credentials, but decryption requires additional Self verification. It's defense-in-depth with privacy preservation.
Why This Is Different?
Let's look at how this stacks up against traditional solutions:
| Approach | How It Works | Privacy | Identity Verification | Granular Rules |
| OS Encryption (FileVault, BitLocker) | Full disk encryption | Good | None (password only) | No |
| Password-Protected Archives | ZIP/RAR with password | Good | None | No |
| Cloud Storage with 2FA | Files on cloud with MFA | Poor (cloud provider sees all) | Basic (phone/email) | Limited |
| Traditional Document Verification | Upload ID copies | Terrible | Yes, but over-shares | Limited |
| Self + Encryption (This App) | Local encryption + ZK proofs | Excellent | Yes, privacy-preserving | Yes, per-folder |
Building with Self
From a developer perspective, integrating Self was surprisingly straightforward.
Frontend Integration
import { SelfAppBuilder } from "@selfxyz/qrcode";

const app = new SelfAppBuilder({
  version: 2,
  appName: "My App",
  scope: "my-scope",
  endpoint: "https://my-server.com/verify",
  userId: userAddress,
  endpointType: "staging_https",
  disclosures: {
    minimumAge: 18,
    ofac: true,
  },
}).build();
Backend Integration
import { SelfBackendVerifier, InMemoryConfigStore } from "@selfxyz/core";

const configStore = new InMemoryConfigStore();
const verifier = new SelfBackendVerifier(
  scope,
  endpoint,
  true,
  AllIds,
  configStore,
  "hex"
);

app.post("/verify", async (req, res) => {
  const result = await verifier.verify(
    req.body.attestationId,
    req.body.proof,
    req.body.publicSignals,
    req.body.userContextData
  );

  res.json({ success: result.isValidDetails.isValid });
});
That's it. Self handles all the complex cryptography, proof verification, and passport validation.
Development Setup
Here's how to get this running on your machine:
1. Install Dependencies
# Root workspace.
npm install

# Backend.
cd server
npm install

# Frontend.
cd client
npm install
2. Configure Environment Variables
Backend (.env):
PORT=3001
SELF_SCOPE=your-scope-name
SELF_ENDPOINT=https://your-ngrok-url.ngrok-free.app/api/verify
Frontend (.env.local):
NEXT_PUBLIC_SELF_APP_NAME=Self Secure Folders
NEXT_PUBLIC_SELF_SCOPE=your-scope-name
NEXT_PUBLIC_SELF_ENDPOINT=https://your-ngrok-url.ngrok-free.app/api/verify
NEXT_PUBLIC_SELF_DEBUG_ENDPOINT=http://localhost:3001/debug/last-result
NEXT_PUBLIC_SELF_CONFIG_ENDPOINT=http://localhost:3001/api/config
3. Start Everything
# Terminal 1: Backend.
cd server
npm run dev

# Terminal 2: Expose backend via ngrok.
ngrok http 3001

# Terminal 3: Frontend.
cd client
npm run dev

# Terminal 4: Electron.
npm run dev:electron
4. Use the Self Mobile App
Download the Self mobile app, create mock passports, and you're ready to test the verification flow.
The Bigger Picture
This proof of concept demonstrates something important: identity verification doesn't have to compromise privacy.
We live in a world where showing your ID means revealing everything about yourself. Want to prove you're 21? Here's your full name, address, date of birth, ID number, and photo. It's absurd.
Zero-knowledge proofs change this paradigm entirely. You can prove:
You're over 18 without revealing your birthdate
You're not on a sanctions list without showing your full identity
You're a resident of a country without showing your address
You're unique without revealing who you are
When combined with strong encryption and native apps, this opens up entirely new possibilities:
Compliance Without Surveillance: Companies can meet regulatory requirements (age verification, sanctions screening) without collecting personal data.
Privacy-First Access Control: You can gate access to resources based on verified attributes while respecting user privacy.
Decentralized Identity: Users maintain control of their identity data instead of fragmenting it across dozens of services.
Wrapping Up
Building this project opened my eyes to what's possible when we combine modern cryptography with user-friendly applications. The code is open source, the protocol is transparent, and the possibilities are endless. Whether you're building compliance tools, privacy applications, or just want to experiment with zero-knowledge proofs, I hope this walkthrough inspires you to explore what's possible.
Feel free to fork the repo, build on it, break it, improve it. That's what POCs are for.
This project is a proof of concept demonstrating Self protocol integration with Electron. It is not intended for production use without proper security hardening and auditing.
If you ever need help or just want to chat, DM me on Twitter / X or LinkedIn.