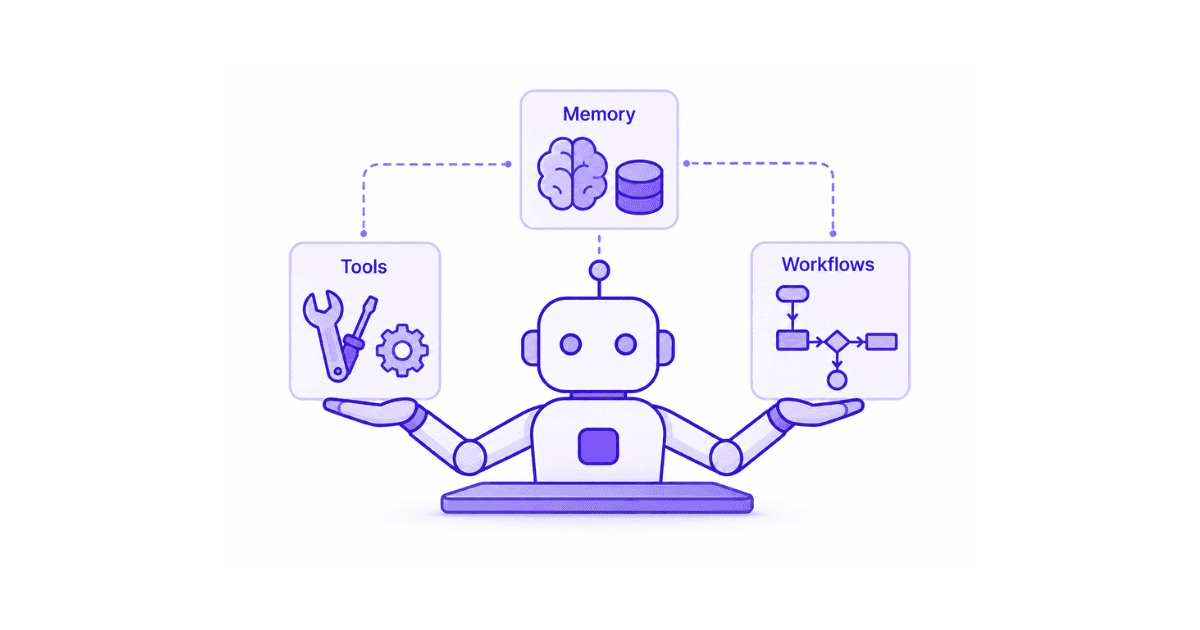
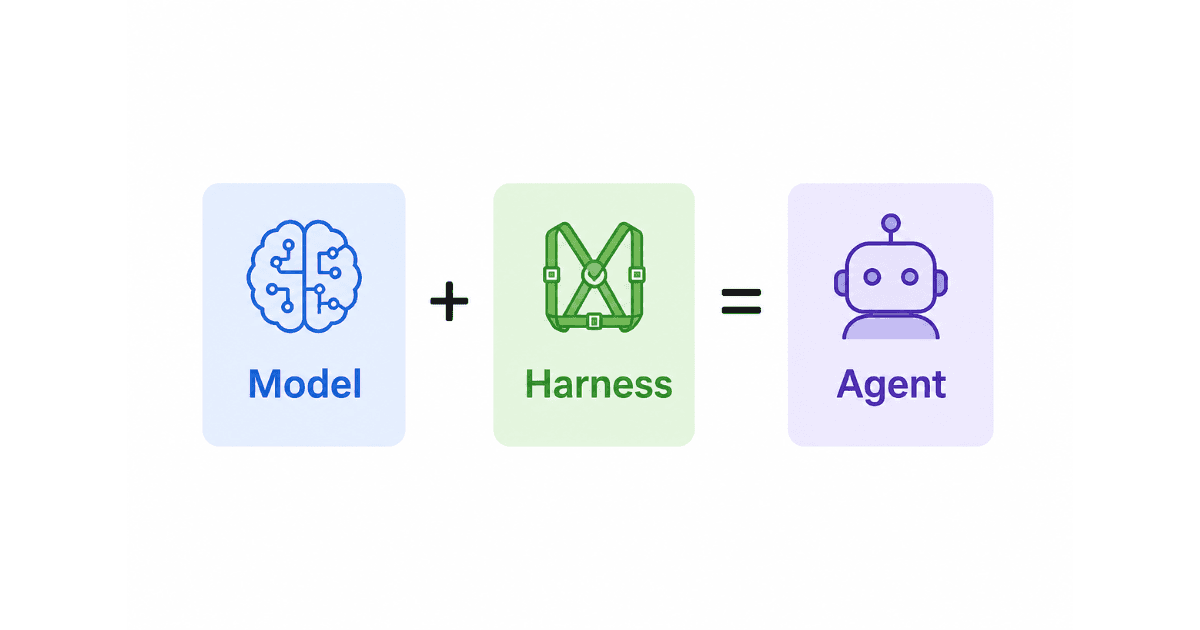
Agent = Model + Harness
A code-dependent life form.
If you have ever called an LLM API, you already know the basic shape of it. You send some text, you get some text back, and the connection closes. That is a model. It is good at producing language, but on its own it cannot remember the last thing it said, cannot run a command, and cannot pick up a task and see it through. The moment you want it to do real work, you need everything that sits around the model. That surrounding layer is the harness.
It is a deliberately simple equation, and it is the whole idea behind this article:
Agent = Model + Harness
The model supplies the reasoning. The harness supplies memory, tools, a place to run code, and the loop that keeps the whole thing moving until the job is done. Two teams can use the exact same model and ship completely different products, because the difference lives almost entirely in the harness.
This article walks through what a harness actually is, shows a working example using Flue, and finishes with practical ways to make a harness faster and more reliable.
Why the model alone is not enough
A raw model has three gaps that matter:
No memory. Every call starts from a blank slate. If you want continuity across a conversation or across separate runs, something outside the model has to hold that state.
No loop. A model can say "I would like to call a tool now," but it cannot actually call it. It needs an outer process that reads that intent, runs the tool, hands back the result, and asks the model what to do next.
No environment. Useful work usually means touching files, running commands, or calling an API. The model has none of that by default.
The harness fills all three gaps. It is the part that turns a single text completion into a process that can pursue a goal.
The shape of a harness
Most harnesses are built from the same handful of layers, stacked from the model upward. Flue describes its architecture in roughly these terms:

Read it from the bottom up. The model is the foundation. Above it, the harness adds sessions and memory so work can continue across turns. Above that, a sandbox gives the agent a safe place to run commands. At the top, filesystem access lets it read and write real files. You do not always need every layer, but this is the full picture.
The core loop
Underneath the layers is one repeating cycle. The harness sends the model the task and whatever context it has gathered so far. The model either answers or asks to use a tool. If it asks for a tool, the harness runs it, feeds the result back, and the cycle repeats. When the model decides it is finished, the loop ends.

This loop is the heart of every agent. Everything else is about making each pass through it faster, safer, and better informed.
A first example with Flue
Flue is a TypeScript framework whose whole job is to give you this harness without building it by hand. Getting a minimal agent running takes three steps.
First, install it and point it at a provider:
npm install @flue/runtime
npm install --save-dev @flue/cli
echo 'ANTHROPIC_API_KEY="your-api-key"' > .env
npx flue init --target node
Then define an agent. At its simplest, an agent is a model plus instructions:
import { createAgent } from '@flue/runtime';

export default createAgent(() => ({
  model: 'anthropic/claude-sonnet-4-6',
  instructions: 'Tell a funny "hello world" engineering joke.',
}));
Save that as agents/hello-world.ts, then open a session from your terminal:
npx flue connect hello-world local
You now have a working agent you can talk to. So far this is barely more than a wrapped API call, which is the point. The harness becomes interesting when you give the agent something to do.
Adding a tool
A tool is a typed action the agent can choose to run. Here is one that looks up an order status:
import { Type, defineTool } from '@flue/runtime';

const orderStatuses = new Map([
  ['order_1042', 'packed'],
  ['order_1043', 'shipped'],
]);

export const lookupOrderStatus = defineTool({
  name: 'lookup_order_status',
  description: 'Look up the current fulfillment status for one order ID.',
  parameters: Type.Object({
    orderId: Type.String({ description: 'Order ID in the form order_1234' }),
  }),
  execute: async ({ orderId }) => {
    const status = orderStatuses.get(String(orderId));
    return status ?? 'No order was found.';
  },
});
A tool has four parts: a name the model uses to call it, a description that helps the model decide when it applies, a parameters schema for the inputs, and an execute function that does the actual work and returns text.
Hand the tool to an agent and the loop from earlier comes alive:
import { createAgent } from '@flue/runtime';
import { lookupOrderStatus } from '../shared/order-tools.ts';

export default createAgent(() => ({
  model: 'anthropic/claude-haiku-4-5',
  instructions: 'Help customers check the status of their orders.',
  tools: [lookupOrderStatus],
}));
Now when someone asks "where is order_1042," the model recognizes it needs the tool, the harness runs lookup_order_status, the result flows back into the conversation, and the model answers using it. That is the full agent loop in a few lines, with Flue handling the orchestration.
Optimizing a harness
Once an agent works, the next questions are about speed, cost, and reliability. A few techniques carry most of the weight.
Match the model to the task. Not every step needs your most capable model. Flue lets you set the model per agent, so a simple lookup agent can run on a fast, cheap model like
claude-haiku-4-5while a harder reasoning agent uses a stronger one. Pick the smallest model that reliably does the job.Keep the context lean. Every pass through the loop sends context back to the model, and long context is slow and expensive. Only load what the current step needs. In Flue, packaging reusable instructions as skills means an agent pulls in detailed guidance only when a task calls for it, rather than carrying everything all the time.
Scope tools tightly. A model is more accurate when it has a handful of clearly named tools than when it faces a wall of options. Use clear, action-oriented names like
lookup_order_statusand only attach the tools an agent actually needs for its job.Push slow work to subagents. For a large task, a main agent can delegate a focused piece of work to a specialized subagent. This keeps each agent's context small and lets independent work happen without bloating one giant conversation.
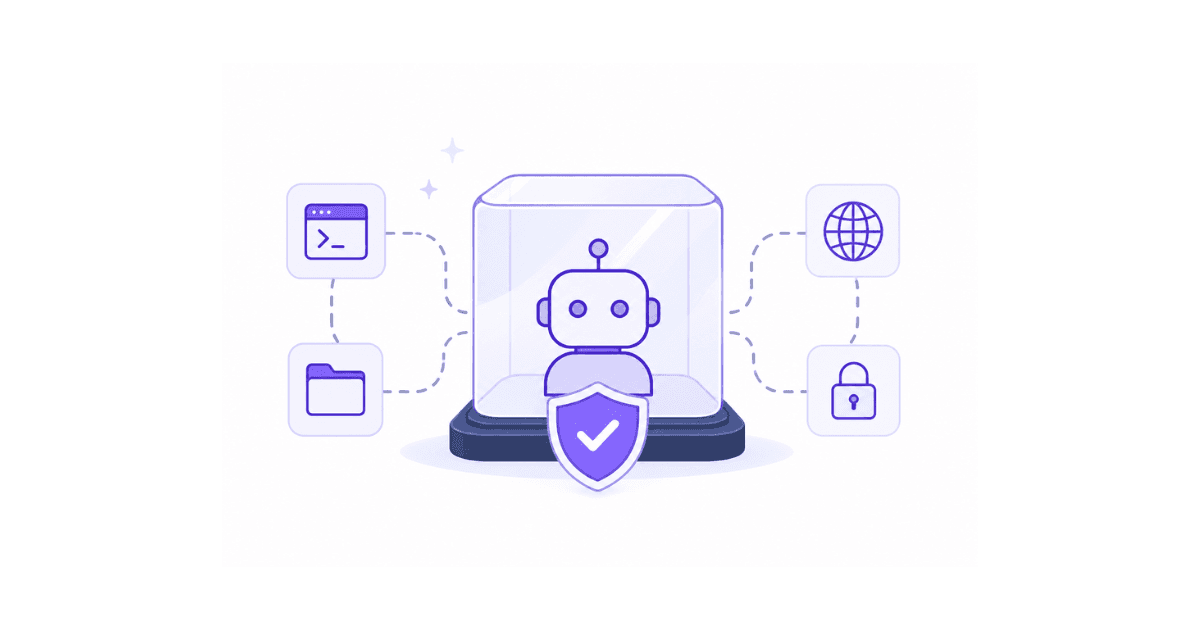
Run untrusted work in a sandbox. Letting an agent execute commands is powerful and risky. Running that work inside a sandbox with controlled network and command access means a mistake stays contained instead of touching your real environment.
Best practices
A short checklist that holds up across most projects:
Treat tool inputs as untrusted. A model picks tool arguments, so those values are suggestions, not authorization. Decide in your own code which account, resource, or credential a tool may touch, and let the model choose only within that boundary. Never put credentials or tenant identifiers into model-selected arguments when trusted code can supply them.
Separate instructions from actions. Use skills for reusable guidance and tools for code that runs. Keeping the two distinct makes an agent easier to reason about and to change.
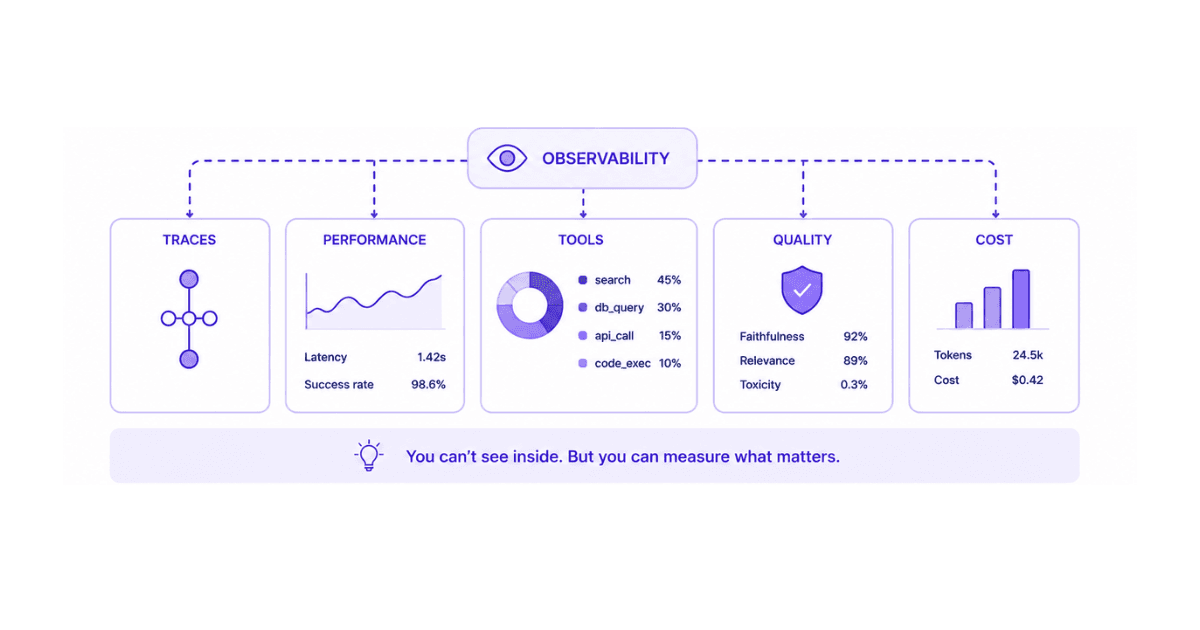
Add observability early. You cannot improve what you cannot see. Export traces so you can watch which tools an agent calls and where it stalls. Flue can send traces to standard backends like OpenTelemetry.
Make work recoverable. Long-running agents will hit failures and restarts. Durable execution lets a workflow resume where it left off instead of starting over.
Fix the system, not the prompt. When an agent fails, the lasting fix usually lives in the harness, such as a clearer tool, a tighter boundary, or a better-scoped context, rather than in one more line of prompt tweaking.
Where to go next
The fastest way to internalise all of this is to build something small. Start with the hello-world agent above, give it one tool, and watch the loop run. From there, add a second tool, then a skill, then a sandbox, and you will have walked through the whole harness one layer at a time. The Flue documentation covers each of these in depth when you are ready to go deeper.
If you ever need help or just want to chat, DM me on Twitter / X or LinkedIn.